
FROM TECHNOLOGY TO APPLICATION
Security solutions built around your verification needs.
Combine materials, printing and inspection workflows for brands, documents, tickets and packaging.
SOLUTION SELECTION GUIDE
Start with the risk, then specify the technology.
Inspection roles, environments and records vary by application. Select a scenario to explore its checks and supporting requirements.
These are design references, not customer case studies. A pictured sample does not necessarily include every listed feature.
01 / Brand authentication
A clear check for buyers. A reference for your channel.
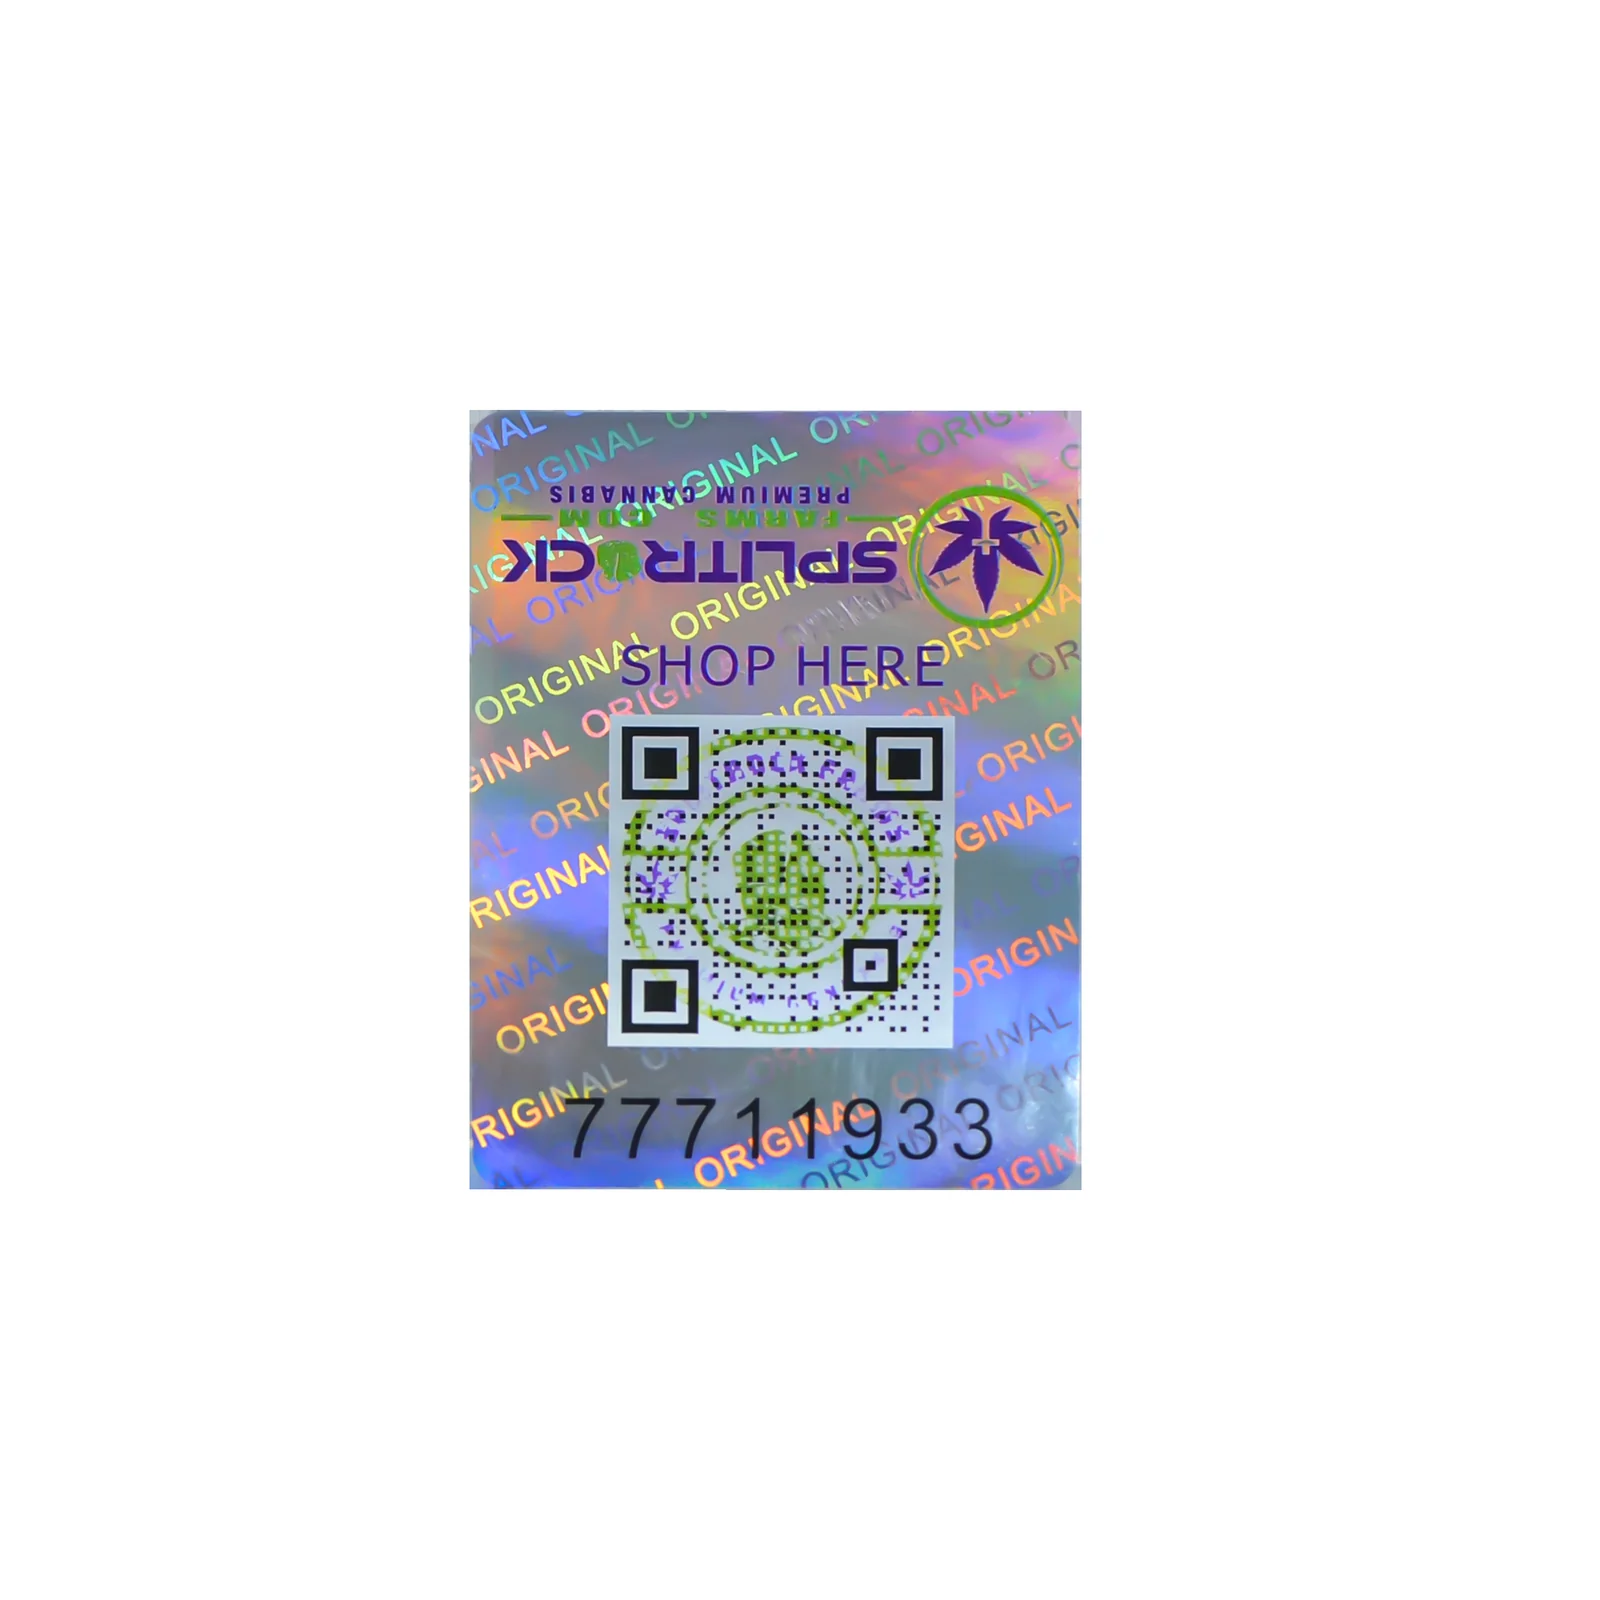
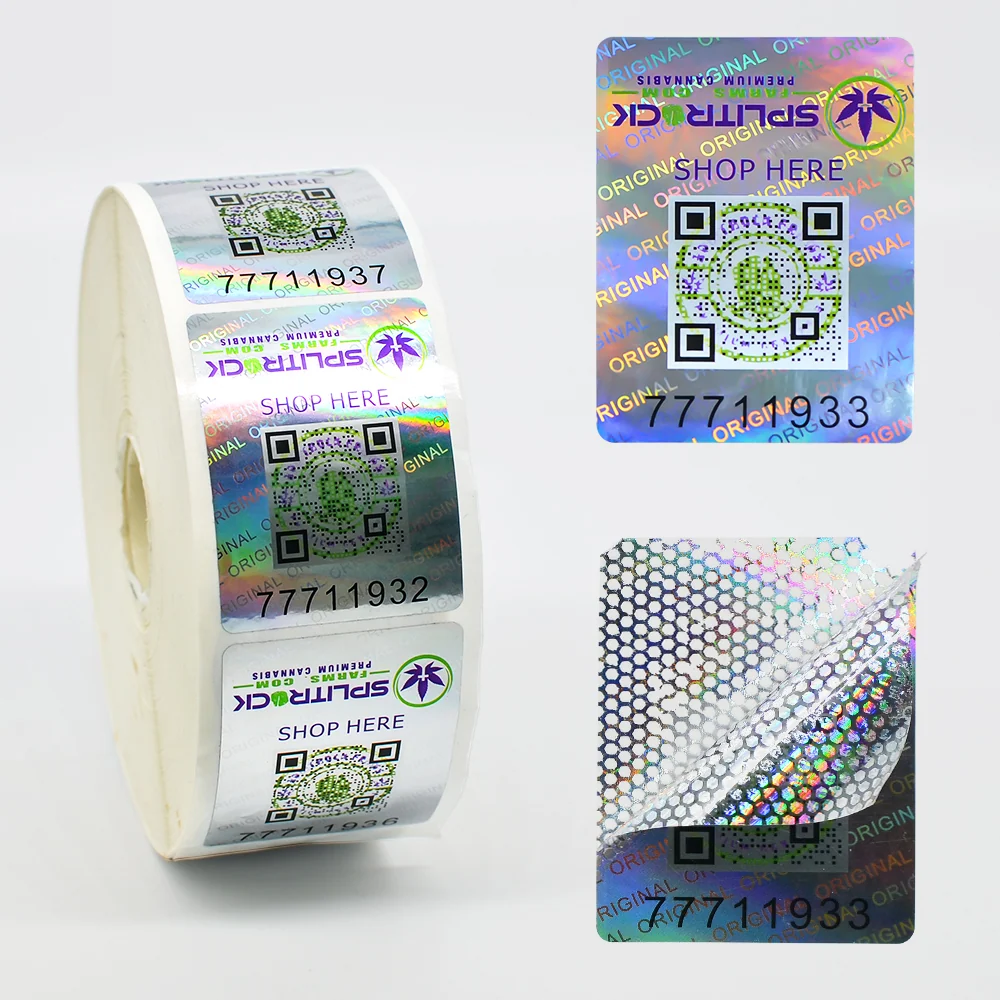
For branded labels, warranty seals and accessory packaging. The mark should tell each verifier what to look for and what to compare.
The risk to address
Look-alike markings can cause confusion. A scannable QR code alone does not establish whether a label has been copied.
How the layers work together
Consumer check
Use a specified optical motif as the first check, with a defined image or change to compare when tilted.
Channel inspection
Select a second feature, such as UV fluorescence, for the available inspection conditions, supported by a reference sample.
Item identification
Link serial numbers to authorized records. For online checks, separately define the system, permissions and exception handling.
Suggested inspection path
Tilt to inspect the optical motif · check fluorescence where required · compare the number with authorized records.
Agree first: label size, brand artwork, application surface, and the tools available to consumers and channel staff.

02 / Certificates & documents
Build checks into the paper, artwork and number.
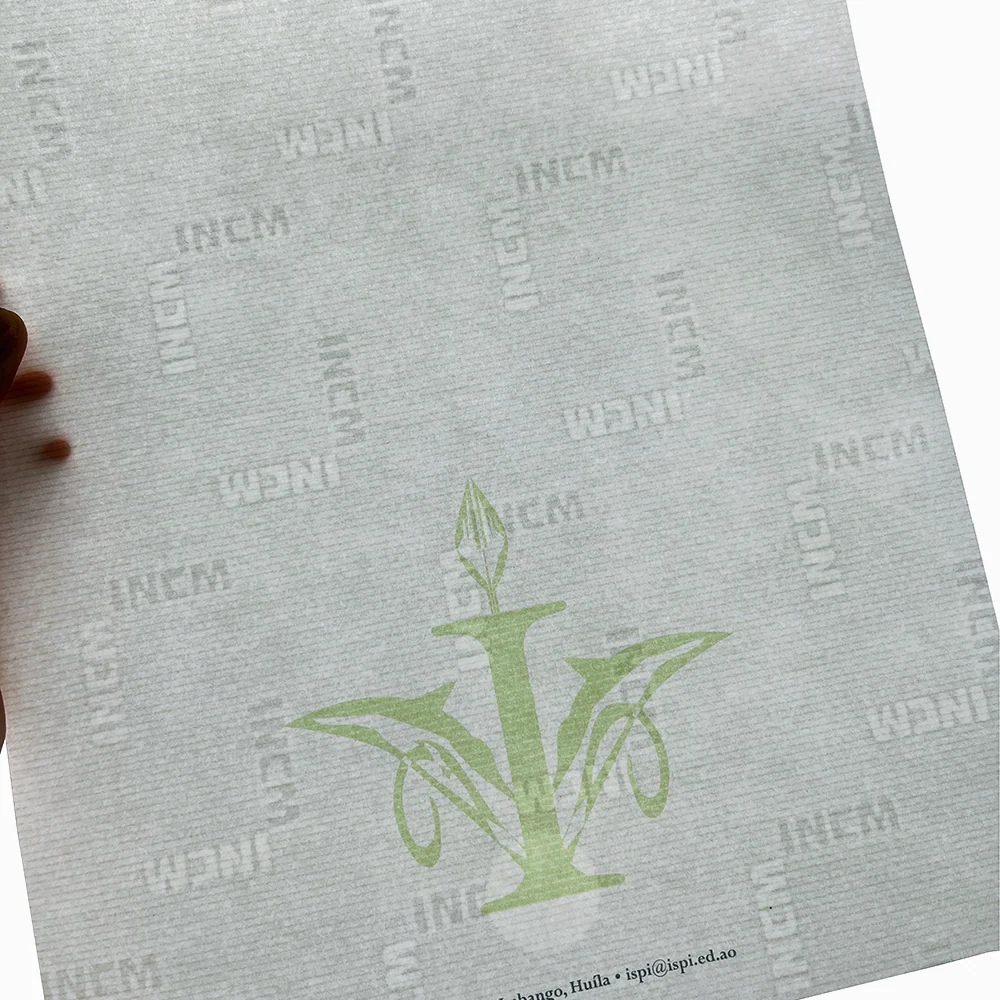
For academic documents, qualification certificates, authenticity documents and authorizations. Give the substrate, printed artwork and issuing record distinct roles.
The risk to address
A scan and reprint may retain the overall appearance. A printed seal, paper colour or number should not be the only check.
How the layers work together
Substrate
Select a watermark, security fibres or an embedded thread to suit the requirement, and specify how each will be inspected.
Printed features
Add fine linework and UV artwork as another reference, considering signatures, stamps and lamination in the layout.
Issuing record
Match numbering to an issuing register, with agreed handling for cancellation, reissue and verification records.
Suggested inspection path
Inspect the paper features · compare linework and artwork under specified illumination · check the issuing record.
Agree first: paper weight, printing method and signing areas. Verify samples after the actual printing and finishing process.
03 / Tickets & redemption
Check the physical ticket and its usage status.
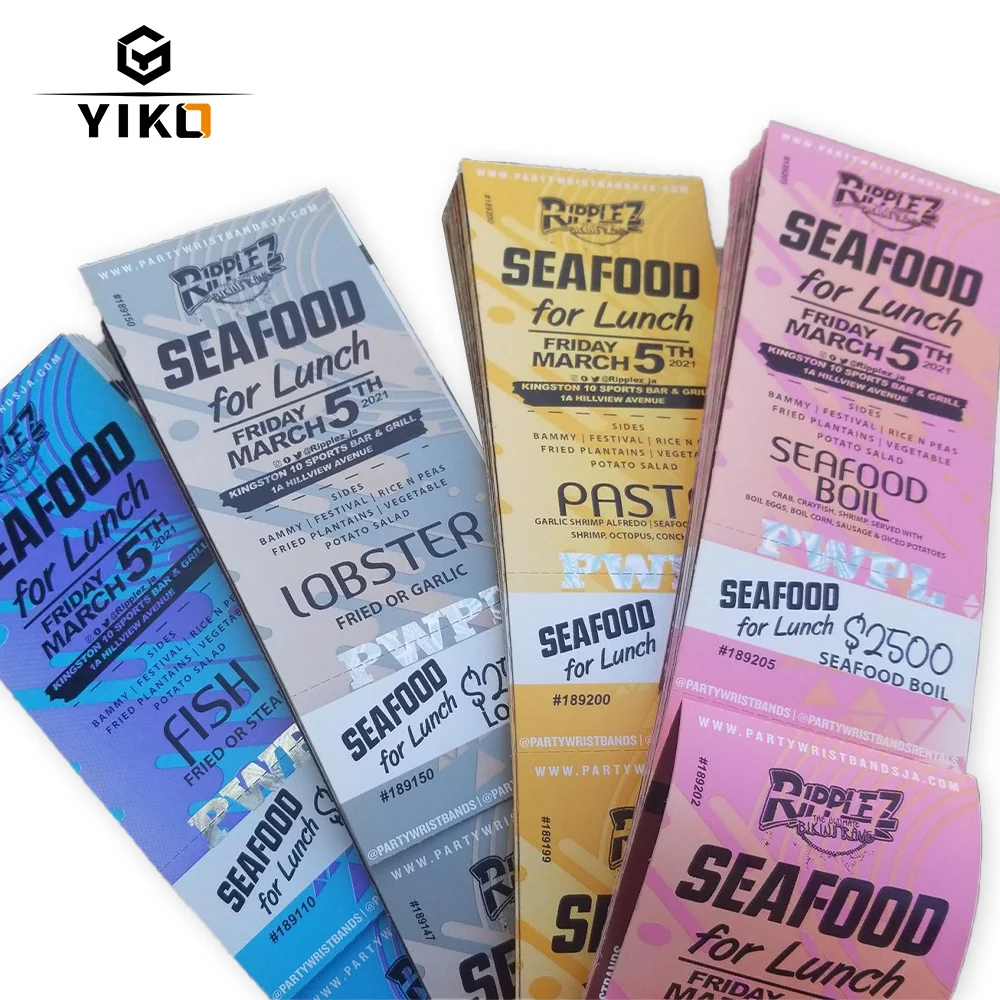
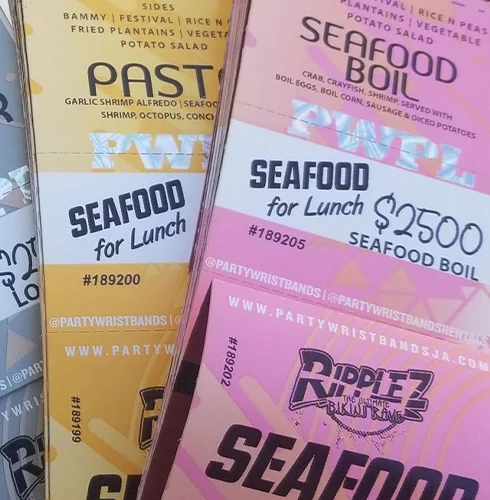
For admission tickets, vouchers and redemption slips. Staff need to inspect the ticket quickly and establish whether it is valid and already used.
The risk to address
An apparently valid ticket may already have been used. Printed numbering does not provide automatic duplicate-redemption prevention.
How the layers work together
Quick inspection
Choose optical or fluorescent features that staff can inspect with the lighting and tools available, with a defined check area.
Ticket matching
Agree how the main ticket, stub and serial number correspond, allowing space for codes and optional perforations.
Usage record
Manage valid, used and exception states in a separate register or redemption system, agreed alongside the print specification.
Suggested inspection path
Inspect the designated security area · check the ticket number · record redemption in the agreed system or register.
Agree first: number format, ticket-to-stub matching, scanning devices, and online or offline verification procedures.
04 / Tamper evidence
Define what an opening attempt should leave behind.
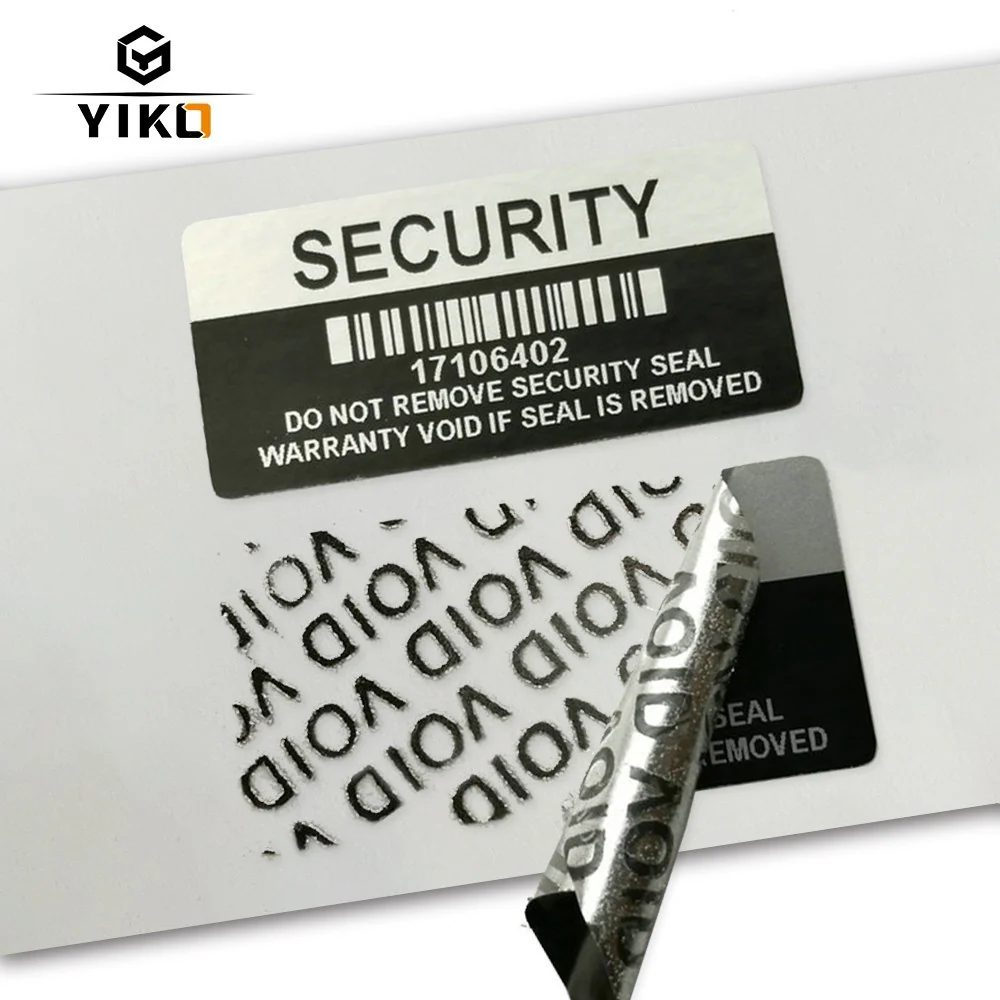
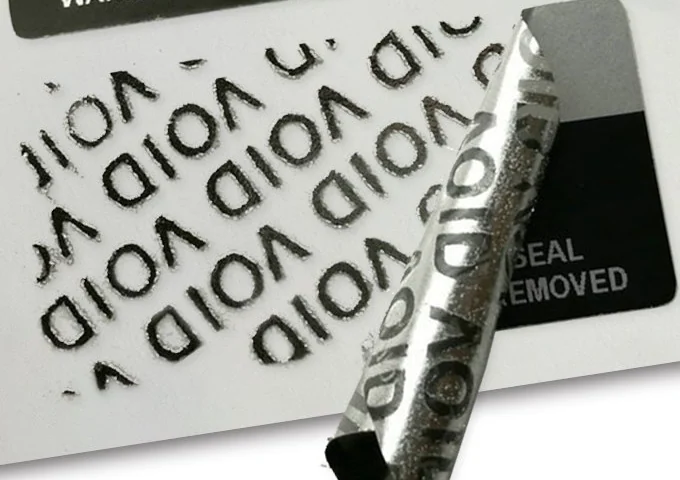
For package closures, warranty seals and packs that require an opening-status check. Select the construction for the actual packaging material and environment.
The risk to address
Adhesion and removal behaviour can vary by surface. An intact label alone does not establish the authenticity of the contents.
How the layers work together
Surface and adhesive
Use the real packaging surface to review placement, curvature, surface treatment and service conditions.
Damage or residue
Choose residue-revealing, fragile or security-cut constructions as appropriate, and agree the expected evidence on samples.
Identity matching
Combine numbering or optical markings to link the seal, package and record; keep tamper inspection distinct from full authentication.
Suggested inspection path
Inspect the closure · compare removal or damage evidence with the agreed reference · match seal and package identifiers.
Agree first: surface material, application conditions and inspection timing. Test removal, residue and legibility on actual packaging.
PREPARE YOUR BRIEF
A useful brief makes the next decision clearer.
You do not need to choose every process first. Start with the application and risk, then refine the combination through samples.
Send your requirements- What is being protected?
- Describe the item, dimensions and use, and provide an existing sample if available.
- Who will inspect it?
- Identify the users, lighting, available tools and time for inspection.
- How will records be managed?
- Share numbering rules, data formats and requirements for cancellation, reissue or redemption.
- How will samples be accepted?
- Specify actual substrates, finishing, application conditions and sample-comparison methods.
